I used to think a home pedicure meant soaking my feet in the bath for a few minutes, hacking at my toenails with whatever clippers I found, and calling it done. My feet always looked… fine. Nothing special. Certainly nothing like the polished, soft feet I’d get from a salon.
Then a friend—a nurse who spends twelve hours a day on her feet—showed me her pedicure supplies. A small caddy with a few carefully chosen tools. Nothing fancy. But her feet were soft, her nails perfect, and she hadn’t visited a salon in years.
“Your hands get attention,” she said. “Your feet get work. They need the right supplies.”
She was right. Here’s everything I’ve learned about building a home pedicure kit and using it for professional-level results.
Why a Home Pedicure Kit Matters
Your feet work harder than any other part of your body. They carry your full weight, absorb impact with every step, and spend most of their lives confined in shoes. Without regular care, dead skin builds into painful calluses, nails become thick and difficult to trim, and dryness leads to cracks.
A proper home pedicure kit isn’t a luxury—it’s maintenance. With the right supplies, you can prevent problems before they start, save money on salon visits, and keep your feet comfortable year-round.
Essential Pedicure Supplies: What You Actually Need
You don’t need every gadget in the beauty aisle. But these basics make all the difference:
For Soaking
Foot basin or large tub. Big enough for both feet comfortably. A basic plastic basin costs under $10. Some have built-in massaging rollers or heat—nice but not essential.
Epsom salts. Magnesium sulfate relaxes muscles, reduces swelling, and softens skin. Unscented works; lavender or eucalyptus adds aromatherapy.
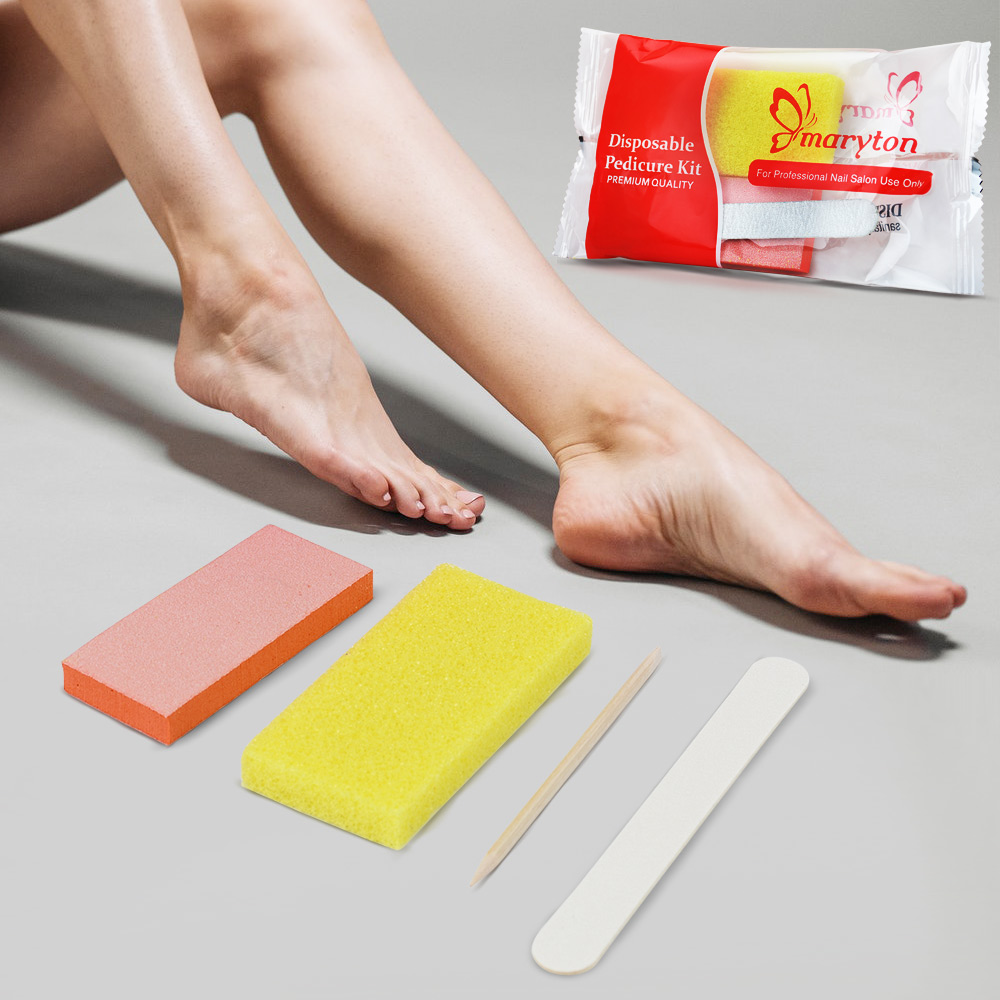
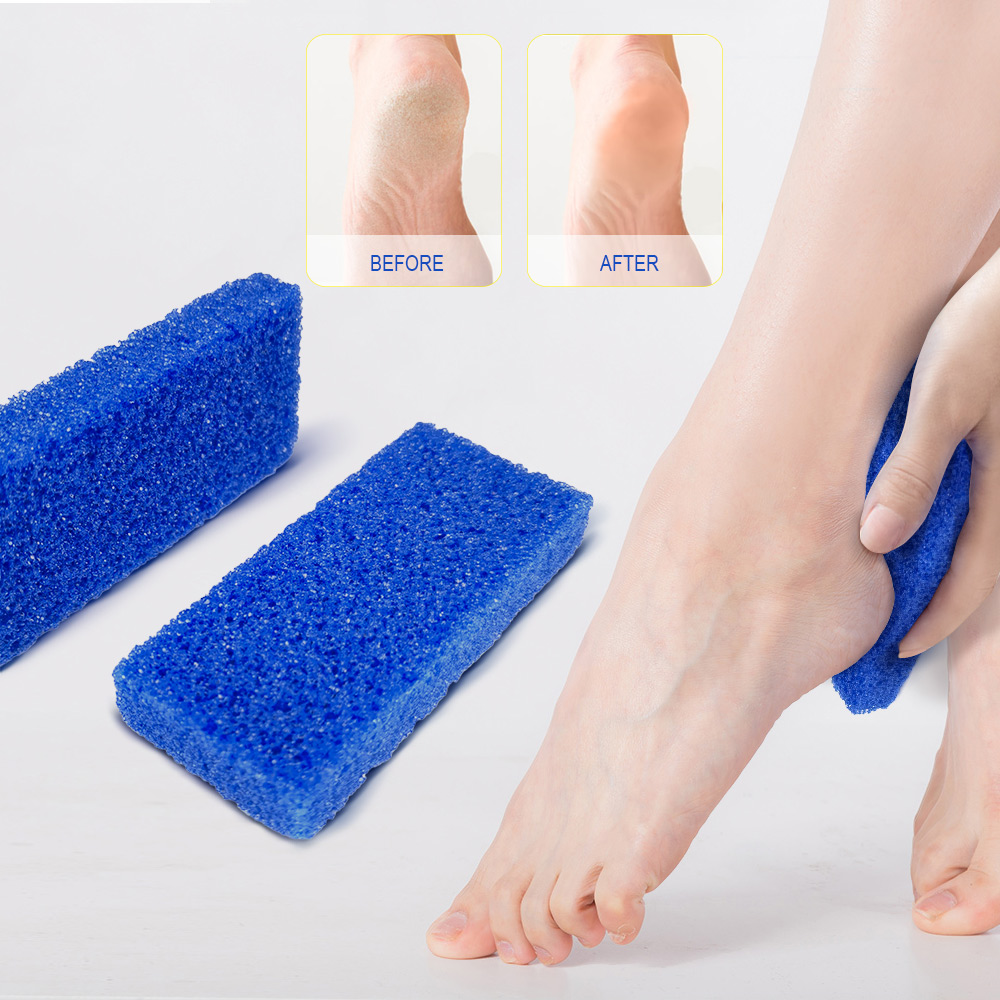
For Exfoliation
Pumice stone or foot file. Pumice is gentler; metal files are more aggressive. Choose based on your callus level. For very rough feet, a metal file works faster.
Foot scrub. Optional but nice. Coarse grains (salt or sugar) with moisturizing oils.
For Nail Care
Nail clippers. Straight-edge clippers designed for toenails. Toenails are thicker than fingernails and require stronger clippers.
Nail file. Coarse enough for toenails. Glass or metal files last longer than emery boards.
Cuticle pusher. Metal or wooden. For gently pushing back cuticles.
Cuticle nippers. Sharp, for trimming only dead skin. Quality matters—dull nippers tear instead of cutting.
For Finishing
Rich foot cream. Thicker than hand lotion. Look for urea (10-20%), shea butter, or glycerin—ingredients that actually penetrate tough foot skin.
Cuticle oil. For moisturizing the nail area.
Towel. Two, actually. One for the floor, one for drying.
Optional: toe separators (for polish), cotton balls, rubbing alcohol, nail buffer.
How to Choose Quality Supplies
Stainless steel tools. This is non-negotiable. Stainless steel lasts, stays sharp, and can be properly sanitized. Avoid anything labeled “stainless finish” or “silver-tone”—these are often plated and will rust.
Comfortable handles. Tools should feel balanced in your hand. If they’re too light or too heavy, you’ll struggle with control.
Avoid giant kits with 15 tools for $8. These are filled with flimsy, useless items. Quality over quantity.
Step-by-Step: The Complete Home Pedicure
Step 1: Set Up and Soak
Find a comfortable chair. Lay a towel on the floor. Fill your basin with warm water—test with your elbow, not your foot. Add a generous handful of Epsom salts.
Soak for 10-15 minutes. Not five, not twenty. Fifteen minutes softens skin and muscles without over-softening (prune feet are harder to exfoliate effectively).

Step 2: Exfoliate
Remove one foot from the water (keep the other soaking). Pat dry with a towel—don’t rub aggressively.
Light pressure only. Let the tool do the work. If it hurts, you’re overdoing it. Pink skin means stop—you’ve reached living tissue.
If using foot scrub, apply in circular motions. Rinse, pat dry, and repeat on the other foot.
Step 3: Tend to Toenails
Trim nails straight across. Curving the corners invites ingrown toenails. Leave a tiny bit of white; cutting too short invites pain and infection.
File edges smooth. File in one direction only to prevent splitting.
Push back cuticles gently with your pusher. The tool should glide—if forcing, soak longer.
Trim only what’s truly dead. If skin lifts easily and is clearly detached, snip it with your nippers. If it’s attached, leave it. Cutting living cuticle on toes risks infection.
Clean under the free edge with the pointed end of your pusher.
Step 4: Moisturize Generously
This step matters as much as any other.
Apply a thick layer of rich foot cream to both feet. Massage it in thoroughly—this isn’t just about moisture, it’s about circulation. Spend extra time on heels and the balls of your feet.
Apply cuticle oil to each toenail. Massage in.
For intensive treatment: apply an extra-thick layer of cream, put on cotton socks, and sleep in them. Morning feet will be transformed.
Professional Tips for Better Results
Warm your cream. Cold cream is harder to absorb. Warm it in your hands before applying.
Use a scrub brush. For overall foot cleanliness, a soft scrub brush used gently on soles and between toes removes dead skin and improves circulation.
Don’t skip between the toes. Moisturizer between toes can encourage fungus, but gentle cleaning and drying matters.
Consider a foot rasp for heavy calluses. If you have significant buildup, a rasp (coarse metal file) works faster than pumice. Use gently, once a week max.
Maintaining Your Supplies
Your tools need care too:
Clean after each use. Wash metal tools with soap and warm water. Dry thoroughly.
Sanitize regularly. Wipe with rubbing alcohol after each use, especially if you’ve worked on calluses or cuticles.
Sharpen or replace when needed. Dull clippers crush nails instead of cutting cleanly. Dull nippers tear skin. Replace when performance declines.
Store properly. Keep tools in a dry case or pouch to prevent rust and contamination.
Replace pumice stones every few months. They harbor bacteria and lose effectiveness over time.
Common Mistakes to Avoid
Soaking too long. Over-softened skin tears instead of filing cleanly. Fifteen minutes is plenty.
Over-exfoliating. Aggressive filing creates sore spots and can actually stimulate thicker regrowth. Gentle, regular exfoliation beats one aggressive session.
Cutting cuticles. Toe cuticles protect against infection. Push, don’t cut.
Rounded toenails. Always cut straight across. Curved corners become ingrown.
Skipping moisturizer. Exfoliation removes dead skin; moisturizer keeps new skin soft. You need both.
Using hand lotion on feet. Hand creams aren’t thick enough for foot skin. Invest in a foot-specific product.
When to See a Professional
Your home pedicure handles maintenance, but some situations need a podiatrist:
- Ingrown toenails that are painful or infected
- Thick, discolored, or crumbling nails (possible fungal infection)
- Open sores or wounds on feet
- Severe cracked heels that bleed
- Diabetes or circulation problems (always consult your doctor before aggressive exfoliation)
The Bottom Line
A home pedicure isn’t about expensive equipment or complicated techniques. It’s about having the right supplies and using them consistently.
With a quality basin, good tools, and a routine that includes soaking, exfoliating, and moisturizing, you can keep your feet soft, healthy, and sandal-ready year-round.
Your feet carry you everywhere. Give them the care they deserve—right in your own home.
Read also: Foot Beauty: A Step-by-Step Guide to Happy, Healthy Feet