Move over, traditional emery boards and metal files. For achieving salon-quality results efficiently and precisely, nail bits – the attachments for electric nail drills (e-manicure/pedicure devices) – are revolutionizing nail care. While classic nail files have their place, understanding the advantages of bits and how to use them unlocks a new level of nail artistry and maintenance.
Why Choose Nail Bits Over Standard Files?
1. Speed & Efficiency: Bits spin at high speeds, allowing you to shorten, shape, and refine nails or enhancements (like acrylics or gels) in a fraction of the time it takes with manual filing. This is a game-changer for professionals and saves precious time for home users.
2. Unmatched Precision: You can effortlessly refine cuticles, clean under the free edge, create intricate nail art designs, or precisely thin out bulky enhancements without accidentally damaging surrounding skin or nail plate.
3. Reduced Physical Strain: Manual filing, especially on harder enhancements, can cause significant fatigue in your hands and wrists. The electric drill does the hard work, minimizing strain and allowing for longer, more comfortable sessions.
4. Smoother Finishes: High-quality ceramic or diamond-coated bits, especially in fine grits, can create a remarkably smooth surface that’s difficult to achieve consistently with standard files, reducing the need for excessive buffing.
5. Versatility: Nail bits are indispensable for working with artificial enhancements. They efficiently remove product (like old gel polish or acrylic), shape thick overlays, blend tips, and prep the natural nail surface optimally before application.
Choosing Your Perfect Nail Bit: Grit & Shape Matter
Selecting the right bit is crucial for safety and results. Focus on two key aspects:
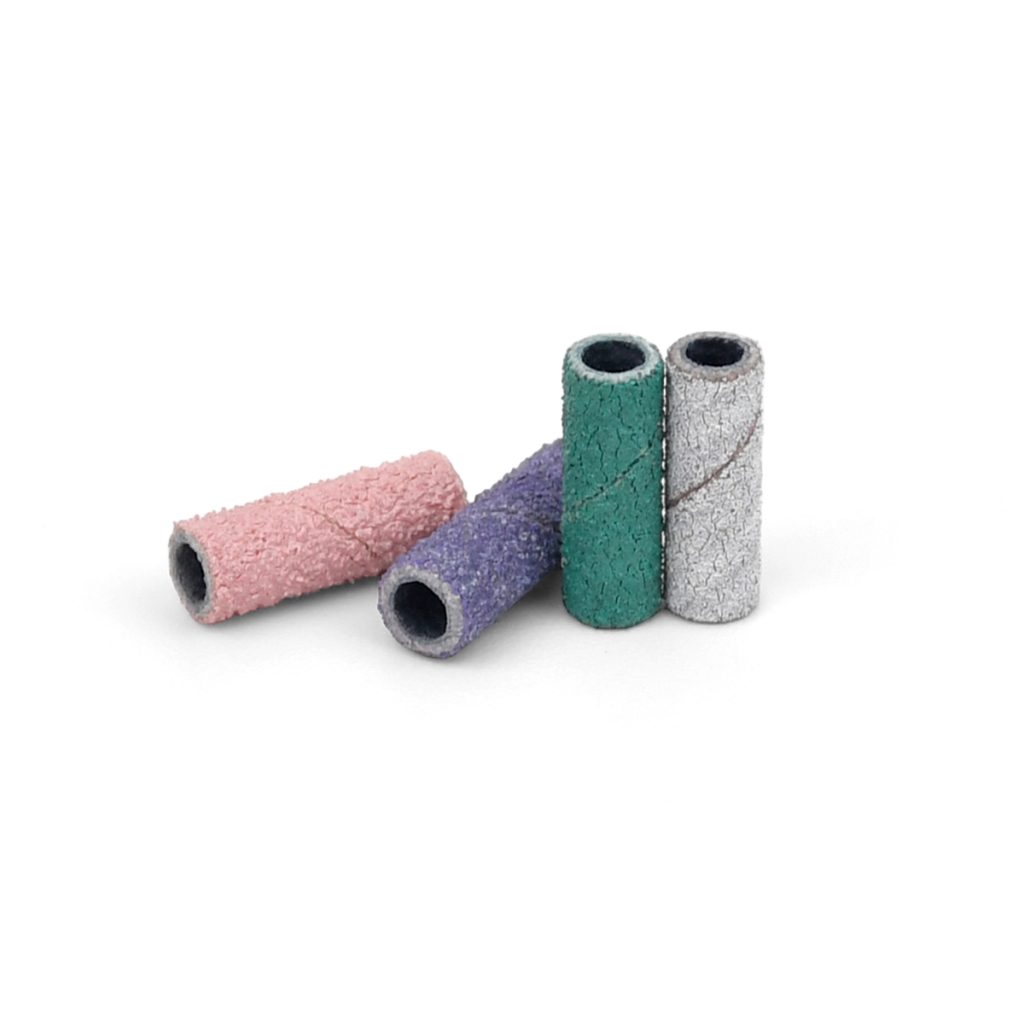
1. Grit (Abrasiveness): Think sandpaper.
- Coarse Grit (80-150): For rapid removal of thick acrylic/gel overlays or shortening very long, tough natural nails. Use with extreme caution and light pressure.
- Medium Grit (180-240): The versatile workhorse. Ideal for general shaping of natural nails and enhancements, removing bulk, and smoothing ridges.
- Fine Grit (400+): For refining surfaces, creating a smooth finish, gentle cuticle work, and buffing. Essential for the final prep before polish application.
2. Shape: Dictates the task.
- Cone (Tapered): Versatile; good for cuticle work (fine grit only), refining sidewalls, and precision shaping near the skin.
- Cylinder (Straight): Excellent for flat surfaces, shortening nails straight across, and removing product from the free edge.
- Flame (Wide Top, Tapered Bottom): Fantastic for efficient bulk removal on flat nail surfaces and smoothing enhancements due to its larger surface area.
- Barrel (Rounded End): Great for smoothing, blending (especially acrylic/gel near the cuticle), contouring, and gentle buffing.
- Ball (Small Sphere): Perfect for intricate tasks like detailed nail art carving, cleaning under the free edge, and pinpoint work.
Mastering the Drill: Key Usage Tips
Using nail bits effectively requires practice and care:
1. Start Slow & Low: Always begin at the drill’s LOWEST speed setting. Gradually increase only as needed. High speed + high pressure = heat and damage.
2. Feather-Light Touch: Let the bit do the work. Apply minimal pressure. Excessive force generates damaging friction heat and can gouge the nail.
3. Direction is Key: Generally, move the bit from the cuticle area towards the free edge. Avoid holding it stationary in one spot, especially on natural nails.
4. Constant Motion & Cooling: Keep the bit moving across the nail surface. Briefly touch the nail surface, then lift, especially on natural nails, to allow heat to dissipate. “Tap and go.”
5. Know Your Limits on Natural Nails: Be exceptionally gentle. Use only fine/extra-fine grit bits. Focus on shaping the free edge and very light surface buffing. Avoid prolonged contact or aggressive grits. Never drill directly onto the nail plate near the cuticle or matrix.
6. Mind the Heat: If the nail feels hot to the touch, STOP IMMEDIATELY. You are applying too much pressure, using too high a speed, or not moving the bit enough. Heat damages the nail bed.
7. Invest in Quality: Cheap, poorly made bits can be unbalanced, wear out quickly, or have inconsistent grit, leading to uneven results and potential damage. Maryton is worth the investment.
Conclusion
Nail bits offer precision, speed, and versatility that traditional files simply can’t match. By understanding grit levels, selecting the right shape for the task, and mastering the technique of light pressure, constant motion, and heat management, you unlock the true potential of your electric nail drill. Whether you’re a professional nail tech or a dedicated home enthusiast, incorporating the right nail bits into your routine elevates your nail care game, leading to smoother finishes, intricate designs, and healthier-looking nails when used responsibly.